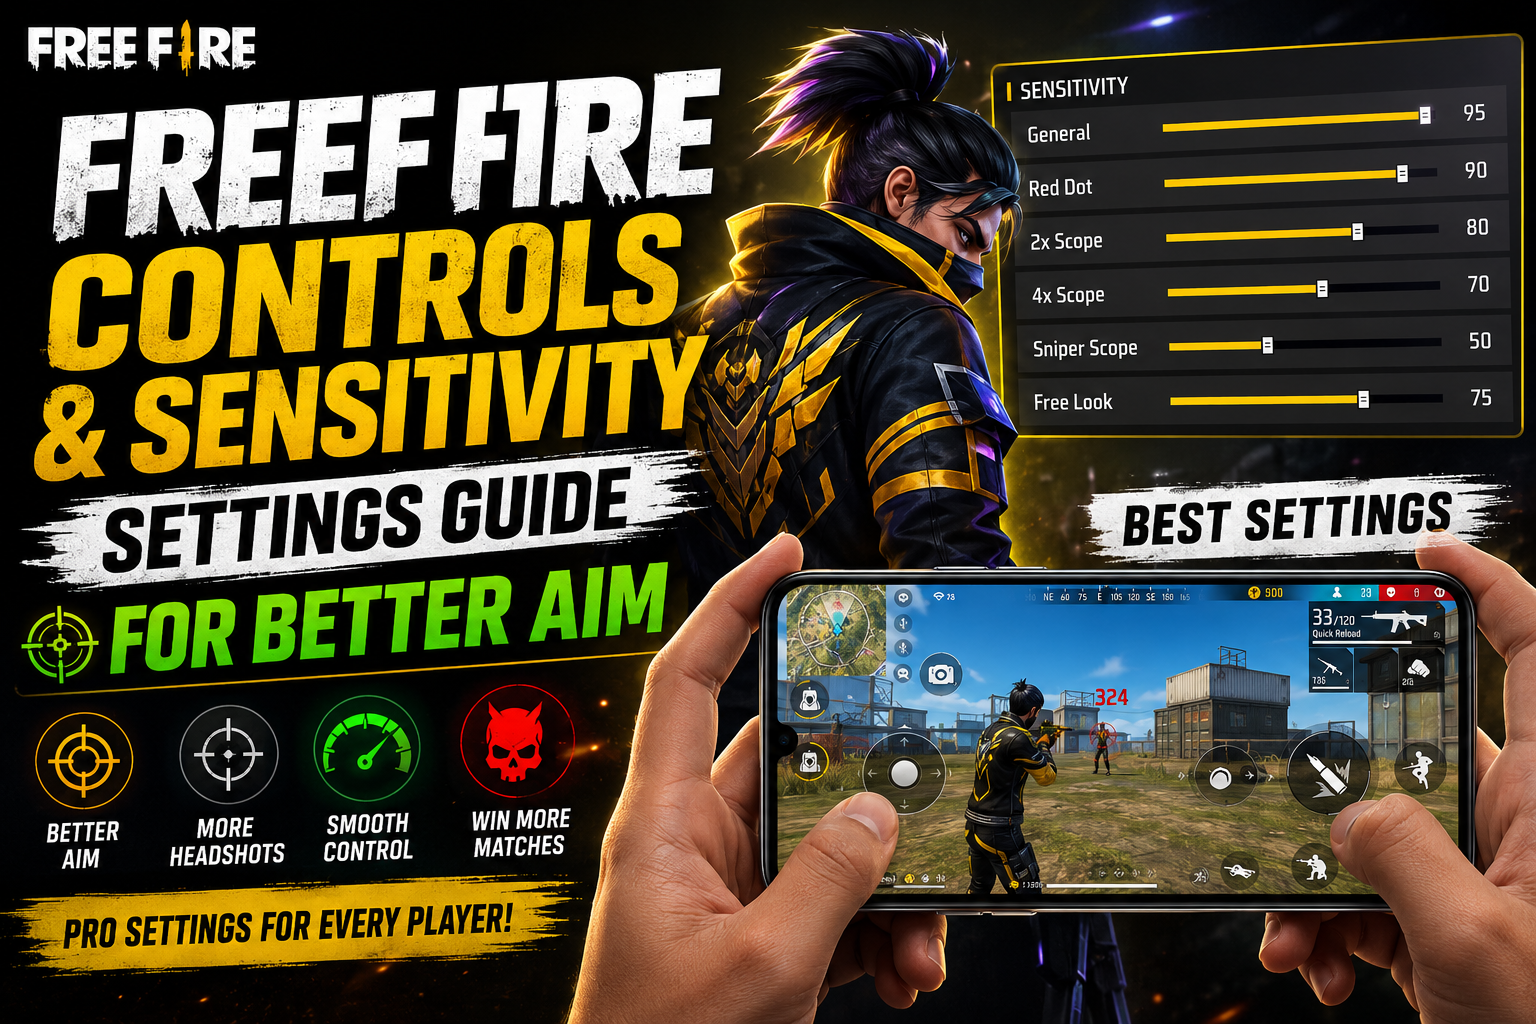
Hello friends, today we are going to try something useful with this topic. Many Free Fire players feel their aim is shaky, recoil is wild, and buttons never seem to be in the right spot. The default setup is easy for beginners, but it can hold you back when matches get sweaty and enemies move fast.
This guide will help you tune your Free Fire controls and sensitivity step by step. You will see how each slider and button layout changes your aim, how quickly you can turn, and how stable your crosshair stays during a spray. The goal is not one magic number, it is a layout that fits your fingers and your device.
The tips here are for casual players, ranked grinders, and anyone who keeps missing headshots even with a decent phone. It works whether you play on a small budget device or a big screen flagship. Settings can vary slightly with game updates and device models, so take them as a starting point and then fine tune in training.
Free Fire has many sensitivity bars, custom HUD options, and aim assist toggles. It is easy to copy some pro number from a video and then feel worse than before. Instead, this blog will show a simple method to build your own control scheme, avoid common mistakes, and test changes safely without ruining your ranked matches.
Aggressive Headshot Sensitivity Settings
| Setting | Value | Use |
|---|---|---|
| General | 95–100 | Fast turning in fights |
| Red Dot | 90–95 | Quick aim in close combat |
| 2x Scope | 80–85 | Balanced for short-range aiming |
| 4x Scope | 70–75 | Steady aim for medium range |
| Sniper Scope | 50–60 | Accurate for long shots |
| Free Look | 70–80 | Smooth camera movement |
Beginner-Friendly Sensitivity Settings
| Setting | Value | Use |
|---|---|---|
| General | 90–95 | Easier turns; good for learning 360s |
| Red Dot | 85–90 | Better drag aim with pistols/rifles |
| 2x Scope | 75–80 | Smooth aim for beginners |
| 4x Scope | 65–70 | Stops shaky aim on low-end devices |
| Sniper Scope | 45–55 | Helps steady sniping while prone |
| Free Look | 65–75 | Easy scanning in hot drop areas |
High-Speed Clutch Player Sensitivity
| Setting | Value | Use |
|---|---|---|
| General | 100 | Fast turns for clutch fights |
| Red Dot | 95 | Quick hip-fire headshots |
| 2x Scope | 85 | Smooth aiming while moving |
| 4x Scope | 75 | Fast mid-range aiming |
| Sniper Scope | 55–65 | Quick-scoping enemies |
| Free Look | 80 | Fast teammate and location checks |
Gyroscope Sensitivity Settings
| Setting | Value | Use |
|---|---|---|
| General | 90 | Smooth movement with gyro |
| Red Dot | 85 | Accurate gyro aiming |
| 2x Scope | 75 | Reduced thumb strain |
| 4x Scope | 65 | Better recoil control |
| Sniper Scope | 50 | Precise long-range sniping |
| Free Look | 70 | Easy head checks using gyro |
Sniper Specialist Sensitivity Settings
| Setting | Value | Use |
|---|---|---|
| General | 85–90 | Controlled movement |
| Red Dot | 80–85 | Stable close-range aim |
| 2x Scope | 75–80 | Steady mid-range aiming |
| 4x Scope | 60–65 | Better recoil control |
| Sniper Scope | 30–40 | One-tap headshot precision |
| Free Look | 60–70 | Smooth scouting movement |
Quick Comparison Table
| Config Name | General | Red Dot | 2x Scope | 4x Scope | Sniper Scope | Free Look |
|---|---|---|---|---|---|---|
| Aggressive Headshot | 95–100 | 90–95 | 85–90 | 75–80 | 50–60 | 70–80 |
| Balanced All-Device | 85–90 | 75–80 | 65–70 | 55–60 | 40–50 | 50–60 |
| Precision Long-Range | 80–85 | 70–75 | 80–90 | 70–80 | 30–40 | 60–70 |
| High-End No-Recoil | 90–95 | 85–90 | 75–85 | 65–75 | 45–55 | 65–75 |
| Beginner Safe | 70–80 | 60–70 | 55–65 | 50–60 | 30–40 | 50–60 |
Best Overall Sensitivity For Most Players
| Setting | Recommended Value |
|---|---|
| General | 95 |
| Red Dot | 90 |
| 2x Scope | 80 |
| 4x Scope | 70 |
| Sniper Scope | 50 |
| Free Look | 75 |
1. Understand How Free Fire Controls And Sensitivity Work
Before changing numbers, it helps to know what each setting actually does. Free Fire splits sensitivity into several sliders, and your control layout decides how easily you can reach buttons during a fight.
Main sensitivity sliders explained
- General: Controls how fast the camera moves when you look around without aiming. Affects rotations, scouting, and close range fights without scope.
- Red Dot: Affects sensitivity when using the basic red dot sight. Very important for short to mid range duels.
- 2x, 4x, AWM or sniper scope: Each one controls sensitivity for that scope zoom level. Lower values give more precision, higher values give faster tracking.
- Free Look: Controls the eye icon view when you move it to scout surroundings while running.
Your device screen size and touch response can change how these feel. A larger phone allows more finger movement, so you can keep sensitivity slightly lower. On a small screen, you might need it a bit higher to turn quickly without lifting your thumb too often.

2. Recommended Sensitivity Ranges For Different Players
There is no single best number because of phone models and play styles, but there are safe ranges that work for most people. Use these as a base and then make small changes of 3 to 5 points at a time.
| Player type | General | Red Dot | 2x Scope | 4x Scope | Sniper Scope |
|---|---|---|---|---|---|
| Beginner, wants control | 40 to 55 | 35 to 50 | 30 to 45 | 25 to 40 | 20 to 35 |
| Aggressive rusher | 65 to 80 | 60 to 75 | 50 to 65 | 45 to 60 | 35 to 50 |
| Mid range player | 55 to 70 | 55 to 70 | 45 to 60 | 40 to 55 | 35 to 50 |
If your crosshair jumps above the enemy head every time you fire, your sensitivity is probably too high. If you struggle to reach targets on the side of the screen, it may be too low. Tune one slider at a time in the training ground instead of changing everything at once.
3. Custom HUD Layout For Faster Fingers
The control layout matters as much as sensitivity. Free Fire lets you resize and move almost every button in the HUD section. Many players leave it at default, then complain that their aim button is too small or the jump button is in the way during a fight.
Basic HUD tips
- Increase the fire button size so your thumb can hit it without perfect accuracy. A size around 60 to 80 percent works well for most screens.
- Place jump and crouch where you can reach them without lifting your thumb off the movement joystick. This reduces delay in jump shots and crouch sprays.
- Move the scope and reload buttons slightly apart to avoid pressing the wrong one in intense fights.
Example: A player on a 6.5 inch phone moves the fire button lower right and makes it large, places jump above it, crouch slightly left, and puts the gloo wall button near the thumb. After two days of practice, their reaction time in close range improves because fingers travel less distance across the screen.
4. Two Finger, Three Finger, Or Four Finger Controls
Another big decision is how many fingers you use. More fingers give more control but require practice and a comfortable grip. For many people, three finger layout is a good middle point between comfort and performance.
Two finger controls
Best for beginners and small phones. You use both thumbs, one for movement and one for camera and fire. It is simple but harder to jump, aim, and shoot at the same time.
Three finger controls
You add one index finger, usually on the right, for the fire button or scope. This allows you to move and aim with thumbs while firing with the index finger, which helps with stable sprays and jump shots.
Four finger controls
Used by many competitive players. Both index fingers tap fire, jump, scope, or gloo, while thumbs handle movement and aim. This gives the most control but can feel tiring and may not be comfortable on small devices.
Real world example, a casual player on a mid range Android phone switches from two finger to three finger layout. At first their accuracy drops because of confusion. After three or four sessions in training mode, they manage to move, aim, and fire at the same time, and their one versus one fights start to feel easier.
5. Simple Case Study: Fixing Vertical Recoil And Missed Headshots
Imagine a player who uses an assault rifle like the SCAR or AK and keeps missing headshots. Bullets start at chest level then climb above the enemy. They are using high general sensitivity copied from a popular streamer and a very small fire button.
Step 1, they reduce general sensitivity by around 10 points and also lower red dot by 5 points. This makes their initial swipe slightly slower but more controlled. Step 2, they increase the fire button size and move it slightly up so the thumb drag is more comfortable for pulling down during sprays.
Step 3, they enter training mode and practice 10 magazine sprays on a fixed target, each time trying to keep the crosshair at neck or head level by gently pulling the thumb down. Within one or two sessions, recoil feels more predictable and the number of headshots in casual matches increases. Ranked performance improves over the next week, without any device upgrade.
6. Extra In Game Settings That Affect Aim
Apart from direct sensitivity sliders, a few other options in the settings menu also influence how your aim behaves. These can change slightly with patches, so check after each major update.
Aim assist
Aim assist can help beginners keep their crosshair near the target, especially on mobile touch screens. However, for very advanced players it can sometimes drag the aim in an unwanted direction in crowded fights. Most players should keep it on, and only experiment with off mode after they are already consistent.
Left fire button
Enabling a left fire button gives an extra option to shoot while your right thumb focuses on aiming. This is very useful for three or four finger players. If you do not use it, reduce its size or move it where you will not tap it by mistake.
Gyroscope
Some Android phones allow gyro aiming through system level settings, though support and behavior can vary a lot by device model and game updates. If you try gyro, start with low sensitivity and use it only for small corrections, not big turns, otherwise it can feel unstable.
7. Testing Routine For Stable Free Fire Settings
Do not rely on one quick match to judge new settings. Use a short but consistent routine so you can see if a change is actually helping.
- Go to training or practice range before ranked.
- Shoot 10 single tap shots at close, mid, and long range targets.
- Do 5 full magazine sprays and watch how recoil moves.
- Practice 5 jump and crouch fights against moving bots or dummies.
- Play 3 casual games with the new settings before touching ranked.
Keep a small note of your sensitivity values and HUD changes. That way if a new experiment feels worse, you can quickly return to your last stable setup instead of guessing numbers again.
Conclusion
Free Fire controls and sensitivity are not set and forget options. They should match your phone size, your finger reach, and your preferred play style. Copying a pro configuration can give ideas, but the best setup is the one that lets you track targets smoothly without thinking about buttons.
Start with safe sensitivity ranges, build a HUD where every important button is easy to reach, and choose a control style that you can actually maintain over long sessions. Then commit a few days to practice instead of changing numbers every match. With a stable base and small adjustments, your aim and reaction time will naturally get better.
FAQ
What is the best sensitivity for headshots in Free Fire
There is no single best value. Use medium to high general and red dot sensitivity, then practice gentle upward and downward drags in training mode. Adjust by 3 to 5 points until your crosshair reaches the head without jumping past it.
Should I use high or low sensitivity on a small phone
On small screens you often need slightly higher sensitivity so you can turn without lifting your thumb. Be careful not to push it so high that your aim shakes. Start around mid range and raise slowly if you cannot turn fast enough.
Is three finger control better than two finger in Free Fire
Three finger layout gives more control for jump shots and sprays, but only if you are comfortable with the grip. It is usually an upgrade, though you will need some practice time before it feels better than two finger.
Do I need to change sensitivity after every Free Fire update
Not usually. Only adjust if you clearly feel that camera speed or recoil behavior has changed, or if the patch notes mention sensitivity tweaks. Otherwise, keep your stable numbers.
Can I use the same sensitivity on all my devices
It is better to treat each device separately. Screen size, touch response, and even aspect ratio change how sensitivity feels, so copy your numbers as a base but be ready to fine tune on each phone.
Thank you for reading this guide. If you found it helpful, keep visiting our blog for more latest tech news, useful apps, AI tools, and practical mobile gaming updates.