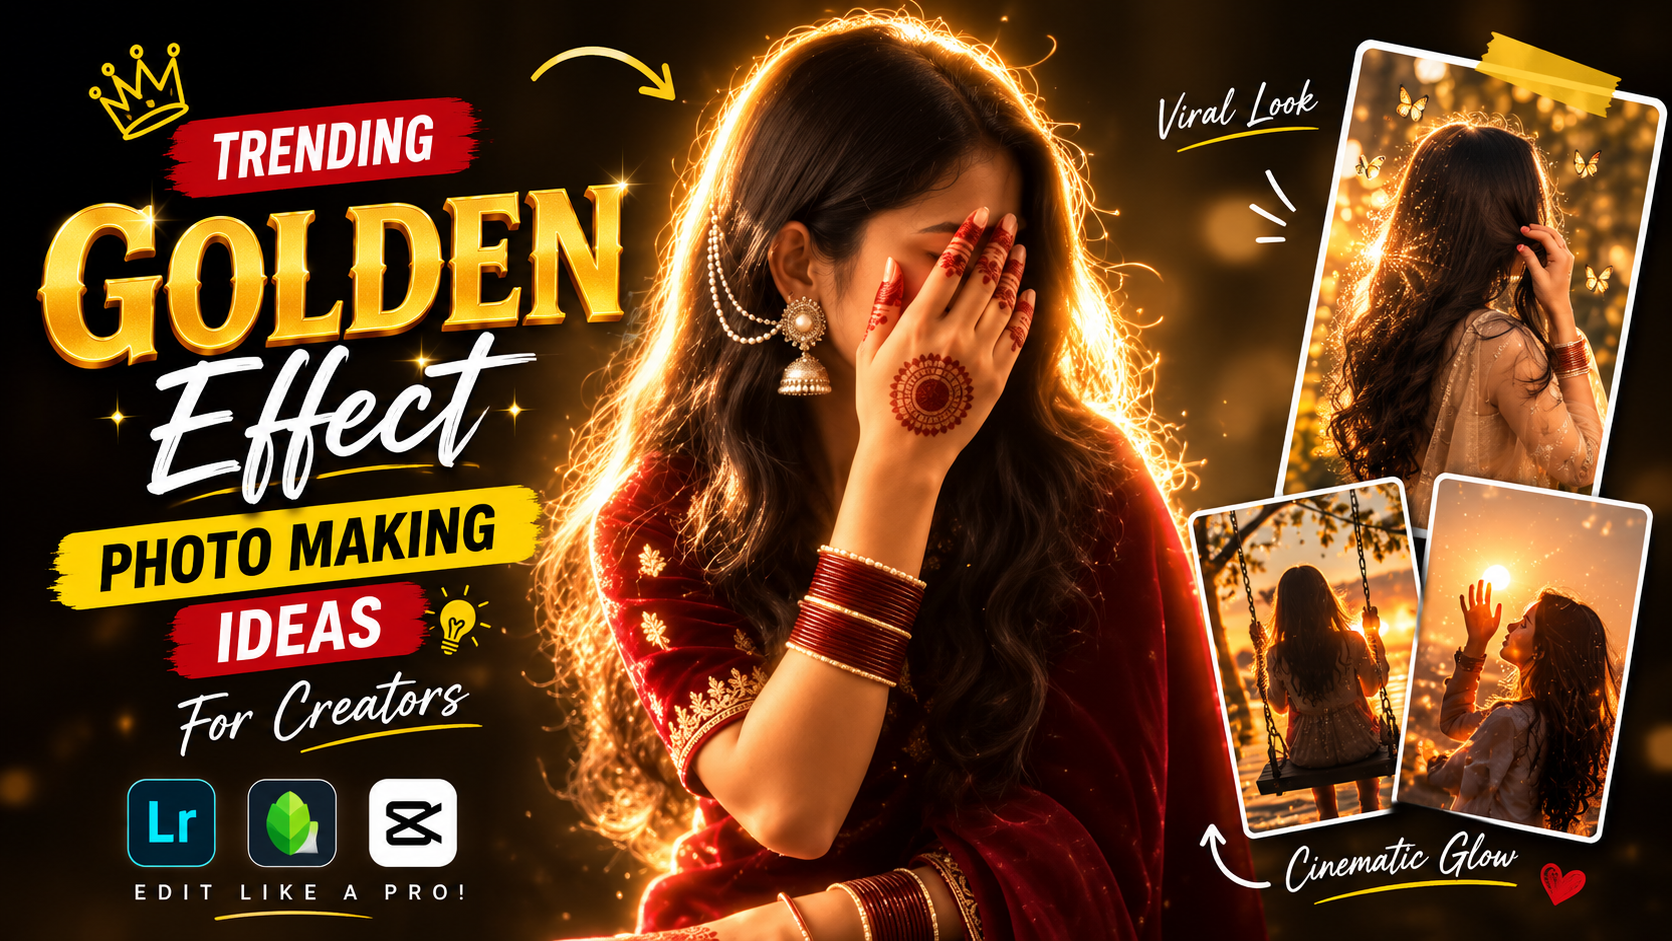
Hello friends, today we are going to try something useful with a trending golden effect photo style that you keep seeing on Instagram, Pinterest, and YouTube thumbnails. Many people download random filters and still do not get that rich warm glow. Skin turns orange, highlights blow out, and the image looks fake instead of luxurious.
This guide will show you clear ideas and workflows to build a golden look that actually works. You will see how to use simple tools on your phone, what to adjust first, and how to combine light, color, and texture so the result feels premium instead of over edited.
The article is written for casual users and creators who already edit basic photos but want a more polished golden style for portraits, selfies, travel shots, and even products or food. You do not need to be a professional, but you should be comfortable installing apps and playing with basic sliders like brightness and contrast.
We will focus on safe, popular apps and online tools and explain which ones are better for quick filters and which are better for detailed control. That way you can pick a workflow that matches your phone, your time, and your style instead of blindly copying one preset that might not suit your images.
Related Resource
The Prompt Link button above opens the related resource for Trending Golden Effect Photo Making Ideas. It is included so readers can reach the mentioned page directly.

What People Actually Mean By A Trending Golden Effect Photo
When users talk about a trending golden effect photo, they usually mean a warm, glowing image with rich yellows and soft highlights. It often looks like golden hour sunlight, even if the original photo was taken indoors or at noon. Good examples include dreamy sunset portraits, shiny jewelry ads, and cozy coffee shots with warm light.
A strong golden look usually includes three ingredients, a warm color shift, bright but soft highlights, and subtle texture like grain or bokeh. If any of these parts are pushed too far the picture starts to look cartoonish. The goal is a balanced glow, not a yellow filter over everything.
Recommended Apps For Golden Effect Editing
You can build this style in many editors, but some tools make it easier. Here is a quick comparison so you can choose based on your device and workflow.
| App or Tool | Best For | Key Golden Features | Platform | Drawbacks |
|---|---|---|---|---|
| Lightroom Mobile | Precise color control | Temperature, HSL, color grading, profiles | Android, iOS | Learning curve, some features need account |
| Snapseed | Free manual editing | Tune Image, Curves, Glamour Glow | Android, iOS | Interface feels older, no layers |
| VSCO | Quick trendy filters | Warm film presets, grain, fade | Android, iOS | Best presets often behind subscription |
| PicsArt | Creative golden overlays | Light leaks, bokeh, stickers, AI tools | Android, iOS, web | Ads in free version, busy interface |
| Canva | Social posts and graphics | Warm filters, gradients, text, templates | Web, Android, iOS | Less detailed raw photo control |
Core Formula For A Natural Golden Look
Think of the golden style as a simple recipe that you can tweak. Below is a manual workflow you can use in almost any editor.
- Start with exposure, brighten slightly so the image feels light, but protect white areas.
- Add warmth, move the temperature slider to the yellow side, often between plus 8 and plus 18 is enough for phone shots.
- Boost midtone contrast, use contrast, clarity, or structure lightly to keep details crisp.
- Shift color, reduce strong blues and greens a little, push yellow and orange saturation slightly higher.
- Soften highlights, use highlight and whites sliders or a slight S curve to keep skin smooth.
- Add subtle texture, a bit of glow, grain, or bokeh so the image does not feel flat.
Small changes matter. Many failed golden edits come from pushing saturation too far or making the whole image the same yellow tone. Keep some neutral or cool areas so the warm parts stand out.
Step By Step Golden Effect On A Portrait
Here is a realistic workflow you can try with a portrait in Lightroom Mobile or Snapseed. The sliders have approximate ranges, you may need to adjust for your own image.
Step 1, Fix the base exposure
Increase exposure slightly, usually between plus 0.2 and plus 0.6. Raise shadows so dark areas keep some detail, and reduce highlights around minus 10 to minus 30 if the forehead or nose looks too shiny.
Step 2, Add controlled warmth
Move the temperature slider toward warm side. For a natural result start around plus 8. Add a tiny touch of tint to the magenta side if skin looks green on your camera. Always zoom in on the face and check for strange color patches.
Step 3, Shape contrast and glow
Increase contrast a little. Use clarity very carefully. Too much clarity on faces creates harsh lines. If your app has a glow or glamour tool, apply it to highlights only and then reduce the overall strength so it looks like soft light rather than blur.
Step 4, Color mix for golden tones
In HSL or Color Mix, select yellow and orange. Raise saturation by a small amount and shift the hue gently to the yellow side for orange if you want a more sun kissed look. Then reduce saturation of blue and aqua a bit so the sky or background does not compete with the face.
Step 5, Optional vignette and grain
Add a light vignette to guide the eye to the subject. If your style is more cinematic, add low grain, maybe 10 to 20. Too much grain makes phone photos look noisy instead of artistic, especially on older devices.
Real World Examples And A Mini Case Study
Example 1, Golden desk setup for social media
Imagine you have a flat lay of a laptop, coffee mug, and notebook on a wooden desk under white indoor light. To give it a golden effect, increase warmth, lower blue saturation, and add a yellow light leak in PicsArt at around 30 percent opacity on the top corner. The result looks like morning sunlight streaming in, even if the original light was cold.
Example 2, Food photo with golden mood
For a plate of pasta under kitchen lighting, lift exposure slightly, warm the white balance, and use selective tools to brighten only the pasta and plate. Darken the background and add a warm gradient from the top. This way the food feels rich and cozy, without turning the plate or table into a strong yellow block.
Mini case study, Fixing a failed golden selfie
A common problem looks like this, the user adds a strong warm filter in VSCO, then posts a selfie that looks orange with almost no detail in the highlights. To repair this, first reduce filter strength to around 50 percent. Then open the image in Lightroom, lower saturation of orange channel, raise luminance of orange to smooth the skin, and pull back overall highlights. The face recovers detail, but the environment still feels warm and golden.
Common Mistakes With Golden Effect Photos
- Over saturating yellow so teeth and eyes turn yellow as well, always check these areas.
- Using a single heavy filter on every image, different lighting needs different intensity.
- Ignoring skin tone, some phones already capture warm skin, extra warmth can destroy natural color.
- Saving and re editing compressed images, each export reduces quality, keep a high resolution copy.
- Downloading untrusted preset packs or apps, which may contain ads, trackers, or harmful files, always stick to known stores and brands.
Conclusion
A trending golden effect photo is less about one magic preset and more about understanding how light, color, and texture work together. When you control warmth, protect highlights, and use overlays only where they help, your images start to look polished and intentional.
Start with one workflow, for example portrait editing in Lightroom or Snapseed, and repeat it on a few images until you can predict the result. After that, experiment with PicsArt or Canva for creative overlays and social layouts. If you share online, keep an original backup and watch how your audience reacts to different levels of intensity.
FAQ
How can I get a golden effect in one click
You can try warm presets in apps like VSCO or Lightroom. Just remember to lower the preset intensity and fine tune exposure and skin tone afterward.
Which light is best for golden style photos
Real golden hour light near sunrise or sunset gives the most natural result. Indoors, use a warm lamp or indirect window light and avoid mixed color light if possible.
Can I create a golden effect photo online without installing apps
Yes, you can use web editors like Canva or Pixlr. Look for warm filters, temperature controls, and gradient overlays. Upload only images you are comfortable storing online.
Why do my golden edits look noisy
Phone photos taken in low light already have noise. Strong warmth, contrast, and sharpening make the noise worse. Try reducing ISO while shooting and keep editing adjustments lighter.
Is the golden effect good for product photos
It works well for jewelry, skincare, and lifestyle items, but it can distort colors for tech products or clothes. If color accuracy matters, keep the warm shift subtle.
Thank you for reading this guide on golden style photo ideas. Stay connected with our blog for more practical tips on tech, mobile apps, AI tools, and the latest updates for creators.