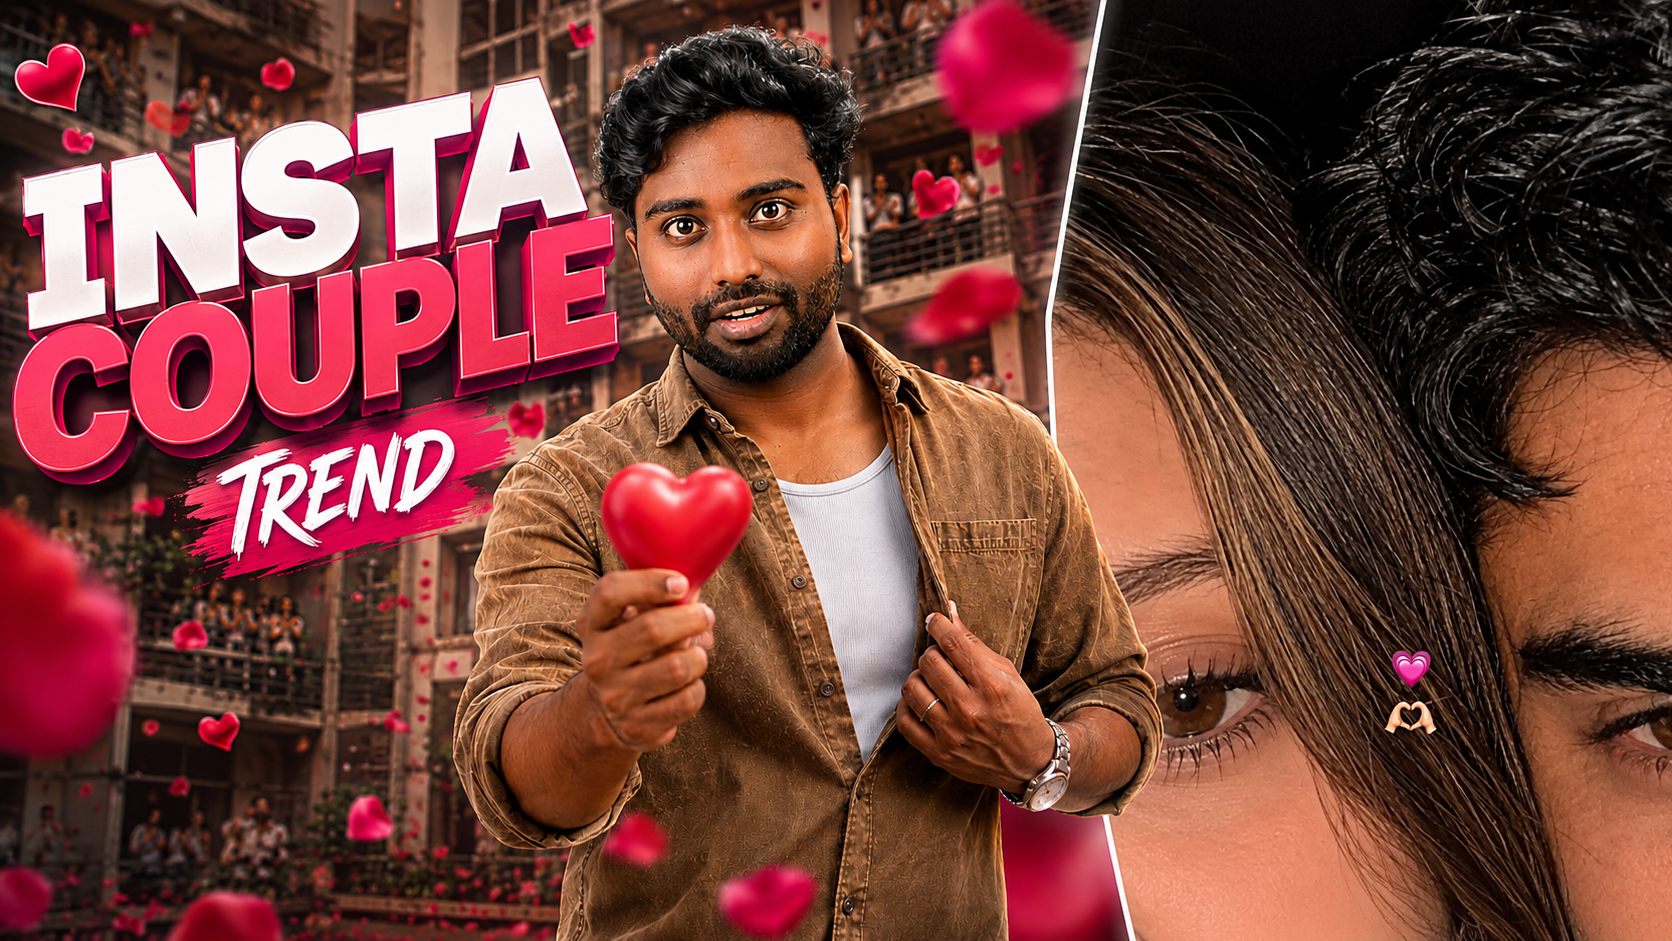
The close up couple eye picture is everywhere on Reels and Instagram stories: both partners’ eyes filling the frame, moody lighting, soft colors, sometimes with text or aesthetic filters on top.
If you’ve tried to copy it quickly, you’ve probably run into one of these problems:
- Your faces don’t fit properly in the frame.
- The focus is off and one person’s eye is blurry.
- Filters ruin your natural eye color or skin tone.
- You’re not sure which app or tool creators are using.
This guide breaks the trend down into simple steps you can follow on both Android and iOS using free or built in apps. No shady downloads, no magic filters required.

What Is the Insta Couple Eye Trend Exactly?
Most of these viral posts use a similar setup:
- Very close crop on both partners’ eyes, usually side by side or overlapping.
- Soft lighting window light or a dim lamp instead of harsh flash.
- High contrast & color grading filters that make the eyes pop.
- Minor retouching smoothing or grain, but not a full face filter.
- Overlay text or stickers quotes, dates, or usernames.
You can recreate almost all of this with your phone camera plus a few common apps like Instagram, Snapseed, Lightroom, or similar photo editors. The key is the way you shoot and crop the image.
Step 1: Set Up Your Shot (Lighting & Position)
Before thinking about filters, get the raw photo right. That saves a lot of editing time later.

Choose the right light
- Best: Natural light from a window. Stand sideways to the window so light falls across your eyes.
- Good: A soft lamp or ring light placed slightly above and to the side.
- Avoid: Direct flash from the phone it flattens details and adds glare in the eyes.
How to position your faces
- Stand or sit close together, cheek to cheek or forehead to forehead.
- Decide if you want:
- Side by side eyes: each of you shows one eye, facing the camera.
- Overlapping eyes: one person slightly behind the other, both eyes visible.
- Keep your noses roughly in line; this makes the crop look balanced.
- Ask a friend to shoot, or use a tripod / phone stand with the selfie timer.
Tip: Switch to your rear camera if possible it usually gives better detail than the front camera, which matters for close eye shots.
Step 2: Take the Photo (Android & iPhone)
You can use the default Camera app on both Android and iOS. Avoid zooming too much; move the phone closer instead for a sharper image.
On Android (most phones)
- Open the Camera app.
- Switch to the Photo mode (not Portrait first portrait blur can be added later if needed).
- Tap to focus on the front person’s eye. Wait for the focus square to lock.
- Increase or decrease exposure:
- After tapping, slide your finger up/down on the screen if your phone supports exposure control.
- Use a 3 second timer so you don’t shake the phone when you press the shutter.
- Take multiple shots with slight angle changes and different eye expressions (looking at camera vs. looking away).
On iPhone (iOS)
- Open the Camera app.
- In Photo mode, tap on one eye to set focus.
- Slide your finger up/down beside the focus square to adjust exposure if it looks too bright or dark.
- Tap the timer icon (top bar) and set 3s or 10s, especially if you’re using the rear camera.
- Take a burst of photos by holding down the shutter button and sliding slightly to the left (iOS 14+), or just shoot several separate images.
Review the shots in your Gallery/Photos app and pick the one where both eyes are sharp and the light looks even.
The view guide document button opens a third-party file or document page related to Trending Insta couple eye image. Review the owner, sharing status, and file type before copying, installing, or entering private information.
You can now move to editing. If you’re following along with a specific creator tutorial from praveen dheivegan or any other source, this is also the stage where you might open their shared reference or preset in another tab for inspiration.
Step 3: Crop & Align the Eyes
The trend works because of a tight, intentional crop. You can do this in Instagram itself or a separate editor.
Using Instagram’s built in editor
- Open Instagram > tap + to create a new post or story.
- Select your best couple photo.
- Use two fingers to zoom in until the frame is mostly eyes, eyebrows, and a little nose.
- Rotate slightly if needed so your eyes sit on a horizontal line.
Using a separate photo app (Android & iOS)
You can use apps like Snapseed (Google), Lightroom, or your default Gallery editor:
- Open the photo in your chosen app.
- Tap Crop.
- Set the aspect ratio:
- 1:1 (square) for feed posts.
- 9:16 (vertical) for Reels and stories.
- Drag the crop box so both eyes are centered and fill most of the frame.
Common mistake: Leaving too much forehead or chin in the frame. For this trend, it’s okay if you cut off parts of the face as long as both eyes are visible and balanced.
Step 4: Add Filters & Effects (Without Overdoing It)
This is where the photo starts to look like the ones you see on the Explore page.
Quick edit using Instagram filters
- After choosing your cropped photo, tap Edit (next to Filters).
- Adjust:
- Brightness: Slight increase if the eyes are too dark.
- Contrast: +5 to +15 to make details stand out.
- Structure/Clarity: Very small increase (+5 ish) for texture.
- Saturation: Small boost to keep eyes vivid without looking fake.
- Vignette: Optional, adds subtle dark corners to draw attention to the center.
- Try a light filter like Juno or Lark at low strength (20 40%).
More control with Snapseed or Lightroom
If you want extra control:
- Use Selective tools (Snapseed) or Masking in Lightroom to brighten just the eyes.
- Add a bit of grain for a film look (often used in aesthetic couple edits).
- Try a warm or cool tone depending on your mood warm for romantic, cool for dramatic.
Keep checking that your skin tones and eye color still look natural. Heavy beauty filters can quickly make the image look artificial and off trend.
Step 5: Add Text, Stickers, or Overlays
Most Insta couple eye posts include text like dates, initials, or small quotes.
You can add this directly in Instagram:
- Upload your edited photo to Story or as a Reel cover.
- Tap the Text (Aa) icon.
- Use a simple font and small size. Place text in a corner so it doesn’t cover the eyes.
- Optionally add minimal stickers (hearts, date tags) but avoid clutter.
If you prefer more design control, apps like Canva or PicsArt (free with in app purchases) let you add:
- Decorative frames or borders.
- Pre made quote templates.
- Light leak overlays for a retro look.
Privacy & Safety Tips for Couple Eye Photos
Even though this trend looks harmless, a couple of safety points are worth mentioning:
- Avoid sharing medical information: If either of you has visible eye conditions you don’t want public, think twice before posting close ups.
- Be careful with reflections: Sometimes you can see phone screens, windows, or people reflected in the eyes. Zoom in and check before posting.
- Don’t upload to sketchy editing sites: Stick to reputable apps from Google Play or the Apple App Store. Avoid websites that ask you to upload selfies without clear privacy policies.
- Limit EXIF/location data: If privacy is a concern, turn off location tagging in your camera/Instagram settings.
Common Mistakes and How to Fix Them
- One eye is in focus and the other is soft: Move your heads so both eyes are on roughly the same distance from the camera, then refocus and reshoot.
- The photo looks grainy or low quality: Shoot in better light and avoid digital zoom. Poor lighting is the main reason for noisy images.
- Colors look weird after filters: Reduce filter strength and manually adjust saturation and white balance.
- Eyes look too small in the frame: Re crop closer. The trend usually has eyes taking up 60 80% of the frame.
FAQ: Insta Couple Eye Photo Trend
Which app is best for editing couple eye photos?
For most users, the Instagram editor plus one extra app is enough. Snapseed or Lightroom give good control over light, contrast, and selective edits without being too complex.
Can I do this with only the front camera?
Yes, but image quality might be slightly lower. Use good light, hold the phone steady, and avoid pinch zoom. If possible, use a tripod and the