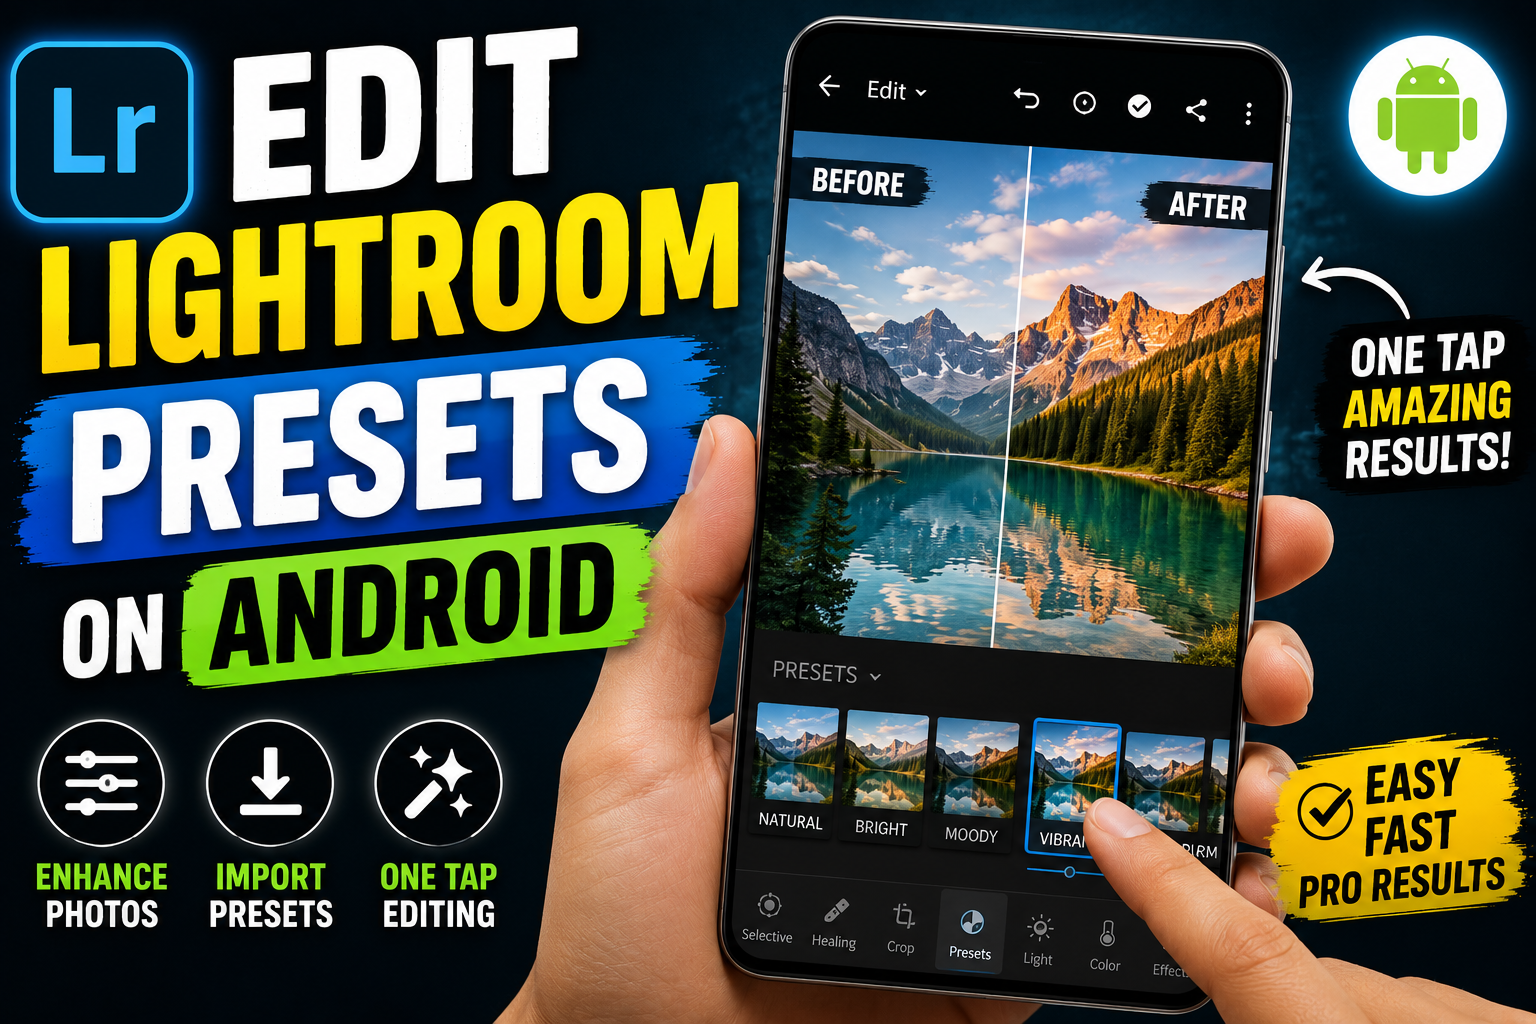
Hello friends, today we are going to try something useful with this topic. Many people install Lightroom Mobile, download a bunch of presets, then discover the results look strange on their own photos. Skin tones look orange, skies turn neon, and the whole edit feels nothing like the sample images from the preset seller.
This guide will help you learn how to edit Lightroom presets on Android so they actually fit your photo, your style, and your device. Instead of tapping one preset and exporting, you will understand which sliders to tweak, how to save your own version, and how to avoid breaking the original settings.
The article is written for beginners and serious hobbyists who mainly edit on a phone. If you share photos on Instagram, Reels, YouTube thumbnails, Etsy listings, or client previews, but do not want to carry a laptop, the workflows here will help you build reliable mobile presets that work across different lighting situations.

We will walk through preset import, basic and advanced adjustments, color and skin tone fixes, and organization tips that match how Lightroom Mobile feels on Android in 2026. Where features might vary by app version or device brand, you will see careful notes so you are not confused by small layout changes on your own phone.
Related Resource
The LIGHTROOM PRESETS button above opens the Telegram resource connected to Android mobile Editing Lightroom Presets On 2026. Use it to join the channel or open the shared details without searching manually.

Quick look at preset editing options on Android
Lightroom Mobile for Android has become closer to the desktop version. Most presets are just saved combinations of Light, Color, Effects, Detail, Optics, and sometimes Masking. You can apply a preset, adjust any slider, then create a new preset from those adjusted settings without touching the original.
Here is a simple comparison of three common ways people handle presets on Android in 2026.
| Workflow type | What you do | Best for | Main drawback |
|---|---|---|---|
| One tap preset only | Apply preset and export directly | Fast social posts in similar lighting | Inconsistent skin and exposure on varied photos |
| Preset plus basic tweaks | Apply preset then adjust exposure, contrast, white balance | Most users, everyday edits | Can forget to save a reusable version |
| Custom cloned presets | Apply preset, fine tune, save as new preset group | Creators, small businesses, client work | Takes time to build and manage presets |
Step by step, how to edit Lightroom presets on Android
1. Apply the preset on a typical photo first
Pick a photo that represents your usual style, for example a portrait in daylight or a cafe interior. In Lightroom Mobile, open the photo, tap Presets at the bottom, and choose the preset pack you want to adjust. Apply the preset and give it a few seconds, some phones lag slightly on heavy presets.
If you imported presets from DNG files or from a marketplace, they should appear under User Presets or a named group. If you do not see them, check the All presets filter at the top of the presets panel, some devices collapse new groups by default.
2. Fix exposure and contrast before anything else
Most preset disappointments on Android are actually bad exposure matches. After applying the preset, go to the Light panel. Adjust these first:
- Exposure, to match the brightness you want
- Contrast, to avoid faded or overly hard images
- Highlights and Shadows, to bring back sky detail or face detail
- Whites and Blacks, to refine punch without crushing tones
Make these changes until the photo looks believable. Do not worry if it does not match the preset advertisement exactly. Your lighting and camera sensor are different.
3. Tame white balance and skin tones
Next, open the Color panel. Presets often push warm or cool tones aggressively. On Android screens with vivid display modes, this can look stronger than intended.
- Use Temp to correct an overly yellow or blue cast.
- Use Tint to fix green or magenta color shifts from indoor lighting.
- If skin looks unnatural, open the Color Mix option and select Orange and Red channels, then gently adjust Saturation and Luminance.
Tap and hold the photo to quickly see the original for comparison. This long press gesture works on most recent Android builds and is useful to avoid over editing.
4. Reduce harsh effects for mobile screens
Some presets are built on desktop monitors and look too strong on small phones. In the Effects panel slowly adjust Clarity, Texture, and Dehaze. Overdone clarity makes faces look older, and high dehaze can add ugly noise in low light photos from cheaper Android sensors.
In the Detail panel use Sharpening and Noise Reduction with moderation. Budget and mid range phones already apply their own sharpening in the camera app. Stacking heavy sharpening in Lightroom can create halos around edges.
Saving your own custom preset version
Once the image looks good on your Android screen, you can create your own safer version of the preset instead of repeating the same slider moves every time.
- Tap the three dot menu in the top right of the editing screen.
- Choose Create Preset or Save as Preset depending on your app version.
- Give it a clear name such as Portrait Soft Summer or Cafe Moody Clean.
- Create a new preset group like My 2026 Portraits to keep things organized.
- In the options list, uncheck tools you do not want baked in, for example Crop or Masking, so the preset stays flexible.
This does not overwrite the original pack, it simply adds your adjusted version. Over time you can keep the two or three that work best and archive the rest.
Real world examples of preset editing on Android
Example 1, bright travel preset that ruins the sky
Imagine a beach photo shot on a mid range Samsung phone. You apply a bright pastel preset, but the sky turns pale white and the sand loses detail. On Android, open Light, pull Highlights down, raise Shadows slightly, and lower Whites. Then in Color, reduce Blue luminance a bit so the sky gains structure. Save this as Beach Clean 2026 so the next batch of travel photos takes only a few taps.
Example 2, moody indoor preset on a budget phone
Now think of a coffee shop photo shot on a low light budget Android. A moody preset adds heavy grain and strong orange tones. Here you open Effects, lower Grain drastically, then reduce Clarity. In Color Mix, lower Orange saturation and raise Orange luminance to protect skin tone. With these tweaks saved as a preset, you keep the moody vibe without destroying detail from the weaker camera sensor.
Case study workflow, creator using only Android in 2026
Take a small content creator who posts daily outfits and lifestyle shots using only their Android phone. They start with a trendy preset pack that looked great in the sample gallery, but their own photos feel inconsistent. Some are too dark, others show orange skin and weird green shadows.
They pick ten recent photos that represent their usual scenes, including mirror selfies, outdoor shots, and indoor cafe images. For each scene, they apply the same preset, then follow a routine. First, fix exposure and contrast, second, check white balance, third, reduce clarity and dehaze for portraits, and finally fine tune color mix for skin.
From that set they build three custom presets, one for outdoor daylight, one for indoor warm light, and one softer look for close portraits. Each preset lives in a clear group on Lightroom Mobile, and they mark favorites with the star option. In daily use, they only adjust exposure and sometimes temperature, which keeps their feed consistent and fast to manage.
The realistic outcome is not perfection on every single photo, but a reliable base look that needs minimal corrections. They also avoid constantly hunting for new preset packs and instead learn how to shape their own style with the sliders that Lightroom already provides.
Common mistakes when editing presets on Android
- Editing on maximum screen brightness all the time, which hides clipping and makes exports look dark on other phones.
- Saving presets with crop or local masks checked, causing strange framing or patchy adjustments on new images.
- Stacking heavy grain, clarity, and dehaze on high ISO mobile photos, creating muddy detail and banding.
- Expecting one preset to work for every lighting condition without adjusting exposure and white balance.
- Downloading preset APKs or modded apps from unsafe sources instead of using official stores or DNG files.
Conclusion
If you want consistent photos from Lightroom Mobile on Android in 2026, treating presets as flexible starting points is far better than chasing the perfect one tap look. Apply the preset, correct light and color first, then calm down harsh effects and sharpening before you even think about exporting.
When you save your own adjusted versions into organized preset groups, your workflow on Android becomes faster and more predictable. A few trusted presets that you understand are worth more than fifty packs you never fully control.
The next time a preset looks wrong on your phone, do not delete it instantly. Use the steps in this guide to see if a small exposure or color change solves the problem. Over time you will rely less on other people presets and more on your own taste, built directly inside Lightroom Mobile.
FAQ
Can I edit Lightroom presets on Android without a paid subscription
Yes, you can adjust sliders after applying a preset and create your own presets on the free plan in most regions. Some advanced tools like Healing or certain masking options might require a subscription depending on Adobe policies.
Why do my presets look different on my friend Android phone
Different display modes, color calibration, and camera sensors affect how presets look. Also, each phone photo has its own exposure and white balance, so the same preset never looks identical on two devices.
Should I buy preset packs or make my own on Android
Preset packs can be a good starting point to learn what you like, but long term it is better to adjust them and build your own library. This way your style is not locked to one seller look.
How many custom presets do I really need on my phone
Most users do well with three to eight presets. For example, a bright outdoor look, a soft portrait look, a moody indoor look, and a black and white option.
Do Lightroom presets reduce image quality on Android
Presets themselves do not reduce quality, but extreme settings like high grain, clarity, or aggressive sharpening can make mobile photos look worse. Moderate edits usually keep quality acceptable for social media and small prints.
Thank you for reading this guide. If you found it helpful, follow the blog for more latest tech news, useful Android apps, AI tools, and practical editing updates.