Hello friends, today we are going to try something very practical. Many people see glowing girl photos on Instagram and YouTube thumbnails and want the same look, but do not know which online tools are safe or how to avoid over editing. This guide explains how girl glow effect photo making online actually works and how you can do it without installing heavy apps.
This article will help you create a soft glow look around a girl portrait using only web based editors that run in a normal browser. You will learn which sites are useful, what each one is good at, and how to combine them for a clean and bright glow style. The focus is on realistic skin, readable details, and not just random light leaks.
The tutorial is written for beginners and casual creators who may only have a basic laptop or a budget phone. If you edit photos for your own social media, small business product shots with models, or simple profile pictures, this workflow will be enough. No professional Photoshop skills are required, but you should be ready to try a few sliders and layers.

Most people just search for glow effect and click the first site that looks fancy, which can lead to watermarks, low resolution exports, or even unsafe pop up ads. In this post, we will walk through a more careful approach, with online tool examples, privacy notes, and a small checklist for safe girl glow effect photo making online that still looks modern and trendy.
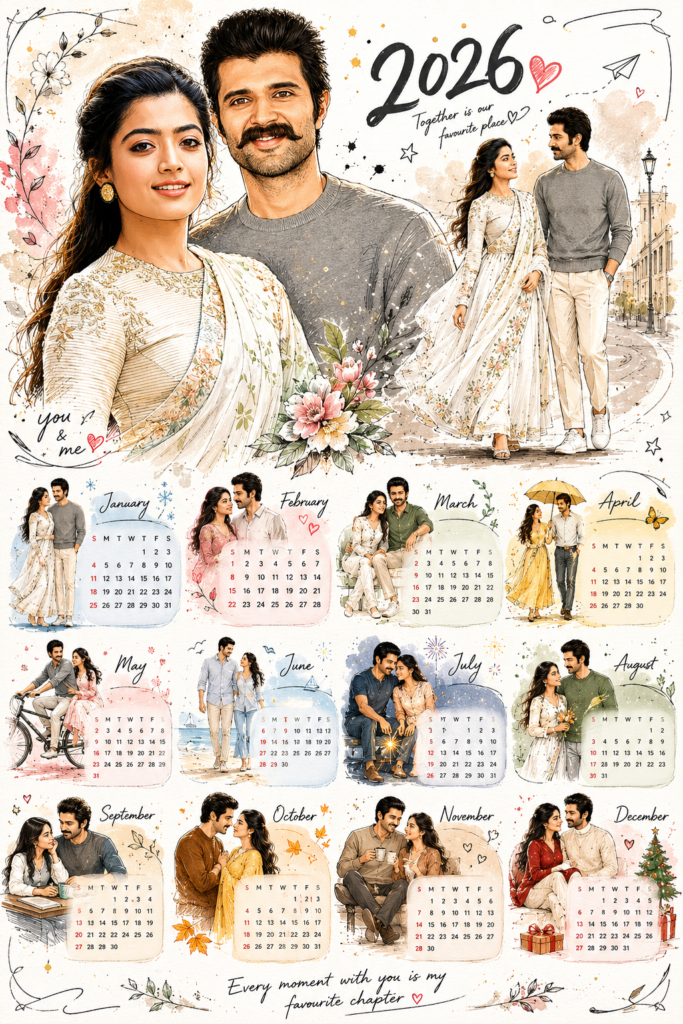
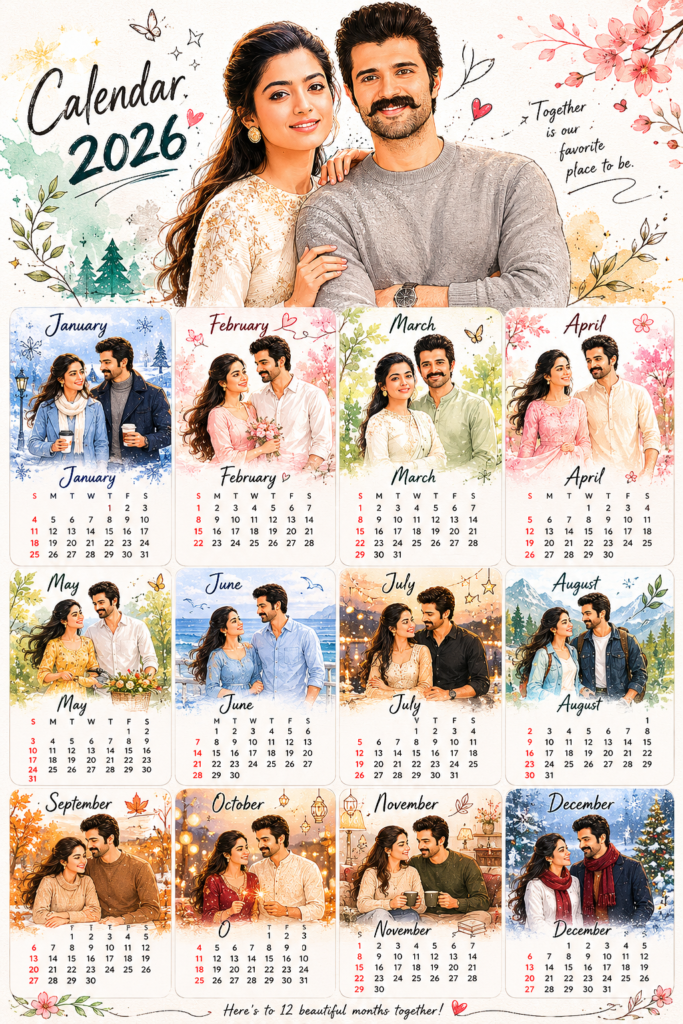
Trending Calendar Style Photo Prompt
CLICK HERE
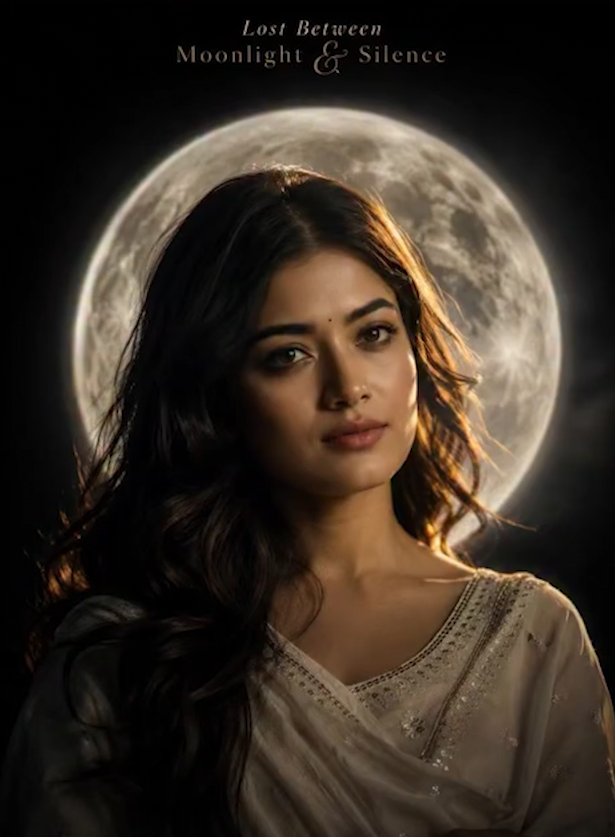
TRENDING MOON Effect Photo Prompt
CLICK HERE
Related Resource
The PROMPT LINK button above opens the related resource for Girl Glow Effect Photo Making Online. It is included so readers can reach the mentioned page directly.

What Is The Girl Glow Effect Photo Trend
The girl glow look is usually a portrait where the subject has soft bright edges, a light halo behind the head, and sometimes neon style highlights on hair or clothes. It often uses pink, blue, or purple tones. The key difference from simple brightness is that the glow feels separate from the main subject and slightly blurred, almost like a light cloud.
There are three common versions of this style. The soft beauty glow where light wraps around the face and shoulders. The neon outline look where a bright colored line runs around the body. The fantasy or angel style where the subject stands in front of a very bright background with glowing particles or bokeh. Most online tools can give you at least the first two styles.
Online Tools You Can Use For Glow Style Edits
Below is a quick comparison of popular browser based editors that many creators use for glow and lighting effects. Features and pricing can change, so always check the official site before relying on a feature for paid work.
| Tool | Main Use | Glow Features | Free Plan Limits | Best For |
|---|---|---|---|---|
| Canva | Design and social graphics | Glow text, outlines, blur glow, filters | Some effects locked, export up to reasonable size | Quick social posts with glow portraits |
| Photopea | Photoshop style web editor | Layer styles, outer glow, Gaussian blur | Ads in free mode, manual workflow | Detailed control similar to desktop editing |
| Pixlr | Online photo editor | Glow overlays, bokeh, curves, filters | Occasional ads, some templates premium | Balancing speed and creative filters |
| Fotor / similar AI editors | AI assisted effects | AI relight, beauty retouch, glow filters | Watermark on some exports, credits system | People who want fast automatic glow looks |
For full manual control, Photopea behaves closest to desktop tools. For fast design with text and stickers, Canva is easier. If you have never used layers, starting in Canva or Pixlr is usually less confusing.
Step By Step Glow Effect Workflow In A Browser
This workflow uses the logic of layer based editing, so you can repeat the same idea in most tools. To keep it concrete, imagine you are using Photopea or another editor that supports layers and blend modes.
Step 1: Pick a suitable base photo
- Select a clear portrait of a girl with clean edges against the background. Messy busy backgrounds make the glow harder to see.
- A mid shot from chest upward works better than a full body shot for this effect.
- Upload a reasonably high resolution file so the glow does not look pixelated.
Step 2: Duplicate the subject layer
- Open the photo in your chosen editor.
- Duplicate the main layer so you have Background and Copy layers.
- Rename the top layer to Glow so you can track it easily.
Step 3: Cut out the subject
Use the automatic background remover if the site provides it. Otherwise use a quick selection tool around the girl and refine the edges around hair and shoulders. This cut out will be used to control where the glow appears so try to keep the outline smooth, especially near the face.
Step 4: Create the glow blur
- On the Glow layer, fill the selection with white or a light version of your chosen color, for example light pink.
- Apply a Gaussian blur filter to this layer. Start with a radius that makes the edges soft but still visible, not so much that it becomes a flat fog.
- Change the layer blend mode to Screen or Soft Light. Lower the opacity until it looks like a gentle halo instead of a bright blob.
Step 5: Add color accents and background light
Create a new layer behind the subject and paint soft gradients with a large brush in purple, blue, or warm orange, then blur again. This adds a background glow that supports the halo around the girl. Do not fill the entire background with one solid color or the effect will feel like a cheap poster.
Step 6: Light retouching
- Use a basic skin smoothing tool very lightly, especially on cheeks and forehead.
- Increase brightness and contrast just a bit so the glow has something to highlight.
- Avoid extreme whitening of skin tone. The glow should add light, not change identity.
Real World Example Workflows
Example 1: Simple Instagram profile picture
Imagine a normal indoor selfie of a girl near a window. You upload it to Canva, remove the background, then place the cut out on a pastel pink gradient. You add a duplicate layer behind the subject, apply a blur glow effect and set it to a lighter color. Finally you add a small white outline. The result is a clean glow avatar that looks modern but still natural.
Example 2: Neon outline YouTube thumbnail
For a gaming or tech channel, you can use Pixlr or Photopea to cut out the girl, then draw a manual line around the edges with a bright blue brush on a new layer. Apply outer glow to that line so it becomes a neon tube. Place this cut out in front of a darker blurred city or gradient background. This makes the girl stand out clearly even on small screens.
Mini Case Study: Fixing An Over Edited Glow Portrait
A common situation is a user who uploads a portrait to an AI effect site, picks a random glow filter, then ends up with a face that looks flat and plastic. The glow might be strong, but details like hair texture and eye color disappear. Instead of discarding the photo, a better workflow is to reduce the effect and reintroduce detail.
For example, you export the AI effect image, then reopen it in Photopea. You place the original photo below the AI version and reduce the opacity of the AI layer to around half. This lets real skin detail come back while keeping the soft halo from the AI edit. You then add a subtle manual glow around the hair to balance both layers.
This approach respects the effort that the AI tool already provided, yet gives you control over how strong the final glow looks. It also reduces the risk of people noticing that you used a preset from a common filter site.
Common Mistakes With Girl Glow Effect Photo Making Online
- Over bright face Many beginners push exposure too high. Watch the nose and chin areas. If they lose shape, lower the brightness and rely more on background glow.
- Random lens flare spam Some sites offer many flare stickers. Use at most one or two, and keep them away from the center of the face.
- Ignoring mobile crop Check how the photo looks on a phone screen. Text or glow details near the edge may be cut in profile thumbnails.
- Uploading very personal photos to unknown sites Avoid untrusted editors for private pictures. Stick to well known platforms, or blur identifying details before upload.
- Only one export size Whenever possible, save a high resolution version and a smaller social version. Low resolution files with heavy glow often look noisy.
Conclusion
Girl glow effect photo making online is very achievable today with only a browser and a stable internet connection. The main difference between an amateur look and a polished result is how you control the glow strength, how clean your subject cut out is, and whether your background supports the lighting style.
If you are just starting, try Canva or Pixlr for quick portraits, then move to Photopea once you are comfortable with layers and masks. Always keep an original copy of your photo, keep the glow near the subject instead of covering the entire frame, and test how the image looks on both desktop and phone before posting.
FAQ
Is online glow photo editing safe for personal pictures
It can be reasonably safe if you use trusted sites and avoid sharing very private images. Read the privacy section of the tool and sign out when you finish editing.
Can I do this glow effect on a low end phone browser
Yes, but heavy tools may feel slow. Choose lighter editors with mobile versions or use sites with simple background remover and basic blur tools.
How do I avoid visible watermarks
Check if the free plan of the editor adds a logo. Some allow watermark free exports at lower resolution, others require a paid plan. If the mark is present, do not crop it out for commercial use.
Which color is best for girl glow photos
Soft pink, peach, and warm white feel natural for portraits. Blue or purple works better for gaming or tech themed posts. Always match the color to the mood of the profile or channel.
Can I sell glow edited portraits made with online tools
Many people do, but always check the terms of the specific editor, especially for AI generated or template based designs. Client consent and licensing should be clear before selling.
Thank you for reading. If you found this guide helpful, keep visiting our blog for more latest tech news, useful apps, AI tools, and creative editing updates that can improve your digital projects.