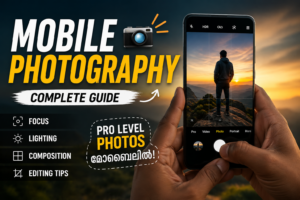
Hello friends, today we are going to try something useful with your phone camera. If your photos often look blurry, too dark, or just flat compared to what you see on social media, the problem usually is not your phone, it is that your default settings are wasting your camera hardware.
This blog will show you how to take control of your mobile photography camera app so you can get sharper images, better colors, and more creative shots without buying a new phone. We will walk through the key settings, common mistakes, and a few pro style tricks that still feel beginner friendly.
The guide is for anyone who already uses the stock camera app or a popular one such as Lightroom, Open Camera, or Camera FV, but mostly sticks with auto mode. If you like taking photos of family, travel, food, or products for a small business, these tweaks can upgrade your photos in a weekend.
We will also look at when it makes sense to install an advanced app instead of your built in one, and what trade offs you should expect in speed, battery drain, and privacy. That way you can decide if a more powerful mobile photography camera app is worth using for your main shots or only for special projects.
Related Resource
The Download Now button above opens the Google Play page related to Mobile Photography Camera App. Tap it to reach the app install page directly, so you can open the listing without searching again.
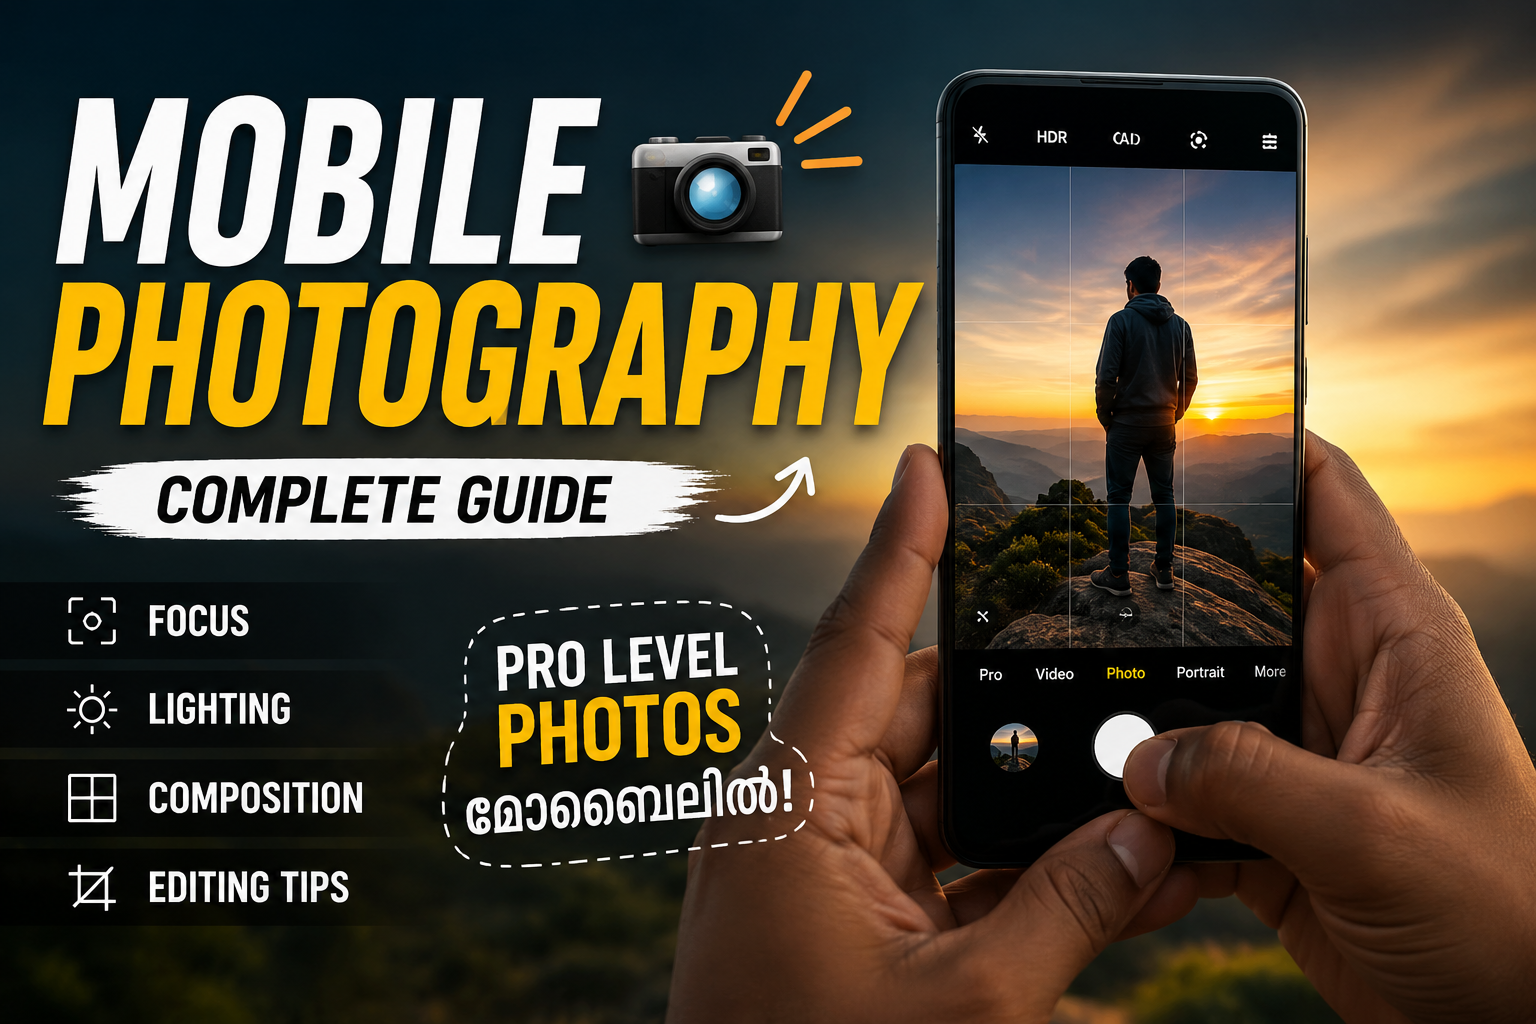
1. First check: are you using the best quality mode?
Most phones ship with aggressive compression or smaller resolutions to save storage. That is fine for quick messaging, but painful when you want to crop or print later. Open your camera app settings and look for items like Picture size, Photo resolution, or Aspect ratio.
- Choose the highest resolution your phone offers in the main 4 by 3 or 3 by 4 ratio.
- Avoid 1 by 1 or full screen for serious photos, they often cut off useful pixels.
- Enable high efficiency format only if storage is a real issue and you know your editing app supports it.
On some budget devices, the camera defaults to 8 or 12 megapixels, while the sensor supports higher modes like 48 or 64. Those high numbers can use pixel binning and might actually be cleaner at the default setting, so try both on the same scene and compare zoomed in details.
2. Learn the focus controls and stop getting soft images
Blurry faces are the biggest complaint from casual mobile photographers. Most camera apps offer tap to focus, but people often just point and shoot. Train yourself to tap where you want sharpness before every important photo.
Practical example: portrait of a friend
When you take a portrait, tap on one eye in the preview, wait a moment until you see a tiny adjustment in exposure, then press the shutter. If your app has a face or eye detection toggle, keep it on, but still tap to override when the app chooses the wrong subject, such as focusing on a bright sign behind your friend.
In low light, tap focus can hunt back and forth. If the app supports manual focus, often shown as an MF option or a slider, you can move the slider slowly until fine details such as eyelashes or hair strands look crisp in the preview. This is slower but useful for product photos or macro style shots.
3. Auto, HDR, night mode, and when to trust them
Modern phones are aggressive about using software tricks like HDR and night mode. These modes can improve dynamic range or low light performance, but they also introduce ghosting and unnatural halos when overused.
- HDR works best for landscapes, backlit scenes, and architecture.
- Turn it off for fast moving subjects such as kids or sports to avoid double outlines.
- Night mode is great if you can hold the phone steady for a second or two.
- Avoid it for concerts or moving crowds because bright lights can smear.
Some mobile photography camera apps let you choose Auto HDR or Forced HDR. Auto usually makes safe choices, but if you see washed out skies or black shadows on a bright day, try forcing HDR for a few shots and compare.
4. When a third party camera app is worth it
Stock apps focus on speed and simplicity. If you want RAW capture, full manual control, or better video settings, a specialist app might be better for key moments. Below is a quick comparison of typical stock camera apps and three well known options on Android. Features vary by phone and version, but this gives you the general idea.
| App type | Controls | RAW support | Best for | Drawbacks |
|---|---|---|---|---|
| Stock camera | Basic, with some scene modes | Sometimes, often hidden in Pro mode | Fast everyday shots, social sharing | Limited manual control, fewer updates |
| Open Camera | Full manual, many toggles | Yes on most supported phones | Enthusiasts who want control | Interface can feel complex, slower to open |
| Lightroom Camera | Manual plus profiles and editing | Yes, with direct edit workflow | Creators who edit every image | Heavier app, uses more storage |
| Camera FV (various versions) | Detailed manual photo and video | Often yes | Advanced users and semi pro work | Paid features, steeper learning curve |
Only install camera apps from trusted stores, check recent reviews, and read the permissions they request. A camera app naturally needs camera and storage access, but if you see unrelated permissions, such as constant location use without clear reason, treat that as a warning sign.
5. Basic manual settings that actually matter
You do not need to memorize every photography term to get results. Focus on three settings when your app offers them, ISO, shutter speed, and white balance.
- ISO controls how bright and noisy the image is. Use the lowest value you can while still getting a bright shot.
- Shutter speed affects motion. Use faster values for moving subjects and slower ones for still scenes in low light.
- White balance fixes color cast. Try presets such as cloudy or tungsten until skin tones look natural.
Case study style example: indoor product photo
You are shooting a handmade craft for an online store. The auto mode gives a yellow tint and smears when you zoom in. In manual mode you set ISO to 100, shutter to around 1 over 60 while using a table lamp and maybe a window for light, then set white balance to a custom value until the whites look neutral. The result is cleaner and more accurate for your listing.
6. Simple composition tricks inside your camera app
Most apps hide helpful tools such as grid lines and level indicators. Turn on a 3 by 3 grid, then place key subjects near the grid intersections instead of dead center. This small change often makes photos feel more balanced.
If your app has a horizontal level line, use it for landscapes and city shots so your horizon does not tilt. It is easier to capture a straight line in camera than to fix it later and lose part of the image through cropping.
7. Storage, backups, and long term safety
Higher quality settings and RAW capture eat storage quickly. That is fine as long as you have a plan. Set up automatic backup to a cloud service or a connected computer, especially before long trips. Delete failed or duplicate shots regularly inside your gallery app so the camera stays snappy and you spend less time scrolling later.
Be careful with apps that promise aggressive compression of your photos to save space. Over compressed images look bad when printed or edited. Always keep at least one high quality copy of your favorite photos, either in cloud storage or on an external drive.
Conclusion
A good mobile photography camera app will not magically fix every bad shot, but the right settings and a bit of practice can narrow the gap between casual snaps and photos you are proud to share or print. Start with basic steps such as maximum resolution, reliable focus, and sensible use of HDR.
If the stock app keeps getting in your way, move your important shoots to a manual friendly app that supports RAW and clear controls. Combine that with better composition and regular backups, and your phone becomes a genuinely capable camera system, not just a random snapshot device.
FAQ
Which mobile photography camera app is best for beginners?
For most beginners the stock camera app is fine, as long as you change basic settings like resolution. When you are ready for more control, Open Camera on Android or Lightroom Camera on both platforms are good next steps.
Do I really need to shoot RAW on my phone?
RAW is useful if you edit photos seriously or recover details from bright skies and shadows. For fast social posts, high quality JPEG or HEIC is usually enough and saves space.
Why do my phone photos look worse on a computer screen?
Small phone screens hide noise and blur. On a larger monitor you see focus errors and compression artifacts. Using higher resolution, lower ISO, and careful focus reduces the problem.
Is it safe to give a camera app location access?
Location tags help organize travel photos but they also reveal where a photo was taken. If you share pictures of your home or children, consider disabling location tagging or stripping that data before posting.
How can I stop the camera app from lagging?
Free up storage, close heavy background apps, and avoid using very slow SD cards for saving photos. If lag only happens in a third party camera, check for updates or try a lighter alternative.
Thank you for reading. If you found this guide useful, keep visiting our blog for more latest tech news, carefully picked mobile apps, AI tools, and practical photography updates.