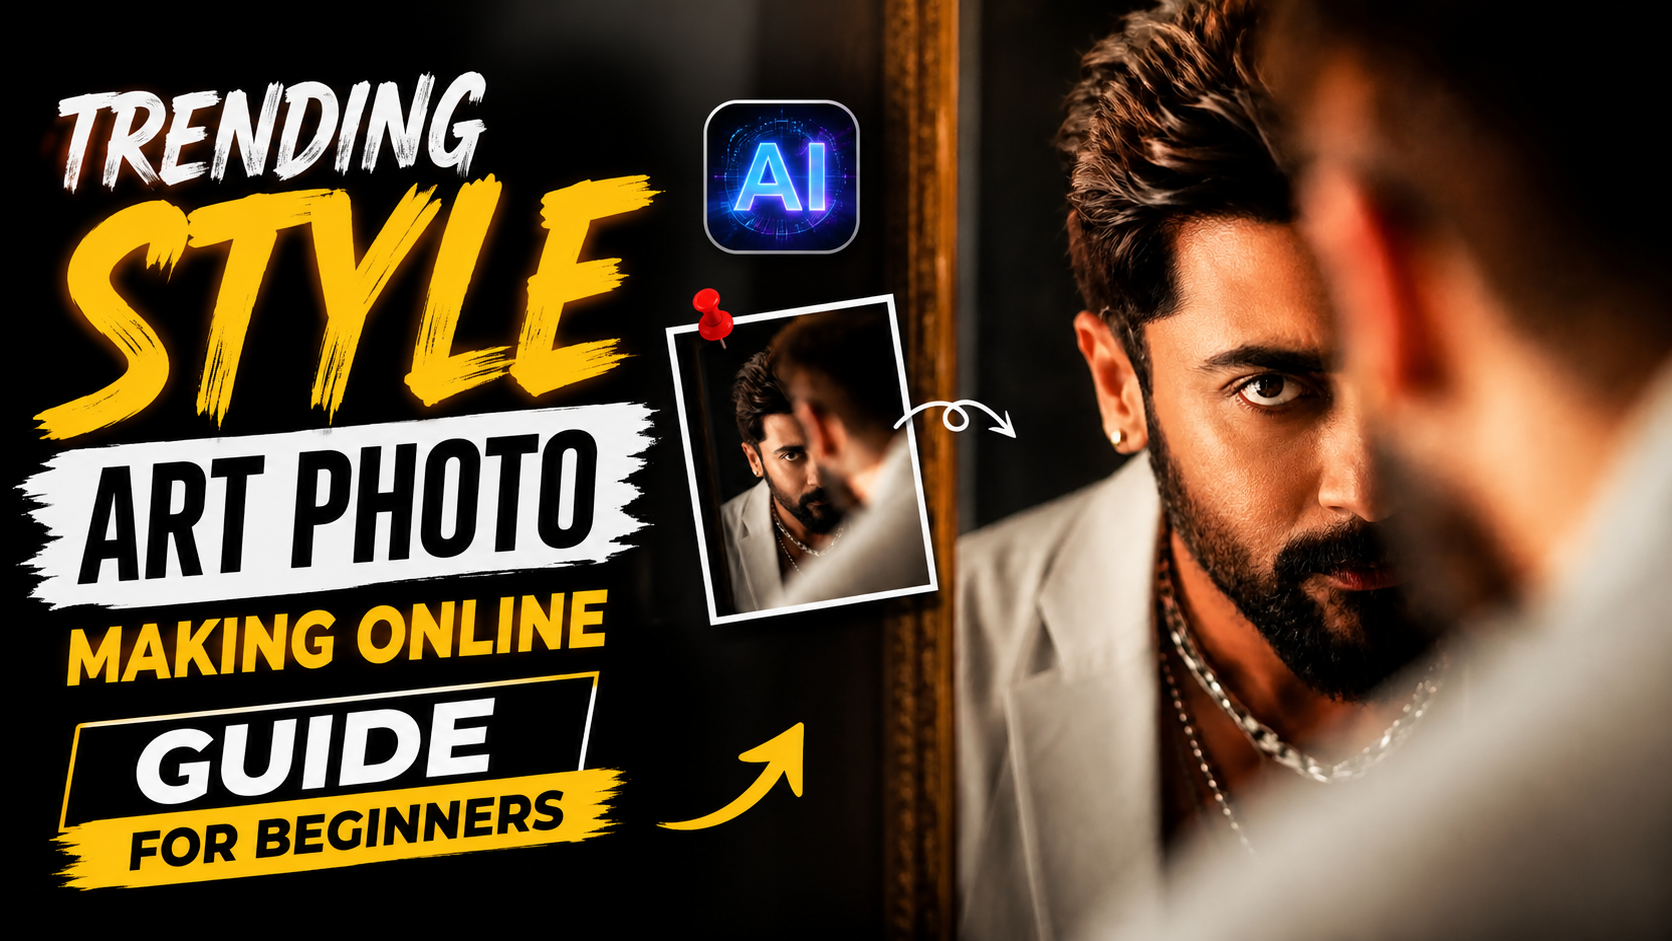
Hello friends, today we are going to try something useful with this topic of trending style art photo making online. Many people see artistic profile pictures or viral edits on social media and think they need expensive software or a high end laptop. In reality most of those looks can be created directly in the browser with the right tools and a simple workflow.
This guide will walk you through how to turn a normal photo into an art style image using online editors and AI tools. You will see how to pick a base photo, choose a style, apply filters, adjust details, and export clean results ready for Instagram, YouTube thumbnails, or WhatsApp DP. The goal is a repeatable process instead of random experiments.
The article is for beginners and casual creators who want modern artistic looks but do not want to learn heavy desktop software. If you use Android, iPhone, a basic laptop or even a shared computer in a cafe, you can follow along. I will also mention some small technical points, like resolution and compression, that make a visible difference in quality.
We will look at a few popular categories of online tools for trending art styles, then compare them in a simple table so you can choose based on budget and patience. Wherever possible I will suggest safe usage habits, since some sites push aggressive ads or ask for logins that you might not need. By the end you should feel confident creating your own signature look instead of copying random presets.
Related Resource
The Prompt Link button above opens the related resource for Trending Style Art Photo Making Online. It is included so readers can reach the mentioned page directly.

What people usually mean by trending style art photo
When someone asks for trending style art photo making online, they rarely want a classic painting only. Today the phrase usually covers a mix of AI art filters, cartoon or anime looks, bold color grading, and layouts that match Reels and Story formats. The important part is that the photo feels current and social ready, not flat or outdated.
Three popular directions keep showing up across TikTok, Instagram, and YouTube thumbnails.
- AI painting styles, such as oil paint, watercolor, cyberpunk, neon glow, or studio illustration.
- Cartoon and anime looks, with smooth skin, big eyes, strong outlines, or comic shading.
- Mixed media edits, with overlays like grain, light leaks, paper texture, or glitch lines.
Most online tools bundle these into presets, but the better results come when you combine preset plus manual tuning.
Main types of online tools for art style photos
You will usually meet three types of platforms when you search for art style photo makers in a browser. Knowing the difference helps you avoid wasting time on the wrong one.
1. One click filter sites
These sites let you upload a photo and apply a single style with almost no control. They are fast and simple, but the output can look generic. Some also add watermarks on free exports, so always check previews carefully.
2. AI style transfer and avatar sites
These use AI to turn your face or full body photo into different styles such as 3D avatar, digital painting, or anime character. You often choose from a list of packs, and the tool generates several versions. Processing time can vary from a few seconds to a few minutes, especially when servers are busy.
3. Browser based editors with layers
These behave more like lightweight Photoshop inside the browser. You can stack filters, use overlays, adjust color by channel, and crop to social sizes. The learning curve is slightly higher, but this category gives you the most control and the least risk of your photo looking like everyone else.
Here is a simple comparison of the three styles of tools, so you can pick one that matches your project and patience level.
| Tool Type | Best For | Control Level | Typical Cost | Main Drawback |
|---|---|---|---|---|
| One click filter site | Quick posts and casual edits | Very low, mostly preset only | Usually free with watermark | Looks similar to many other users |
| AI style and avatar site | Profile pictures and character art | Medium, style choice but little fine tuning | Free trials plus small packs or subscription | May ask for account, processing delays |
| Browser editor with layers | Thumbnail design and unique branding | High, manual control on color and texture | Free plans, premium templates or storage | Needs more time and some practice |
Step by step workflow for art style photo making online
This workflow uses a mix of an AI style transfer tool and a browser editor. You can adapt it with whatever services you prefer, as long as they let you export standard image files.
Step 1: Pick the right base photo
- Use a clear image with good light on the face, avoid heavy shadows across the eyes.
- Avoid very low resolution selfies from messaging apps, AI filters will expose every flaw.
- If you edit a full body photo, leave some space around the subject so effects do not cut off edges.
Step 2: Run one strong style, not ten random ones
Upload the image to an AI style or avatar site and choose one direction only, for example neon cyberpunk or soft watercolor. Generate a few options, then pick the cleanest one. Jumping between too many different presets on top of each other often creates muddy contrast and strange skin tones.
Step 3: Fine tune in a browser editor
Download the AI styled result and open it in a browser editor that supports basic adjustments. Here you can:
- Crop to the final format such as 9 by 16 for Reels or 1 by 1 for profile.
- Boost or reduce saturation, since AI styles can be too intense for some feeds.
- Use clarity or structure lightly to keep details sharp without adding noise.
Step 4: Add texture and simple overlays
If you want a more handcrafted feel, add a grain layer at low opacity or a subtle paper texture. Some editors provide free overlays in the elements section. Avoid stacking many heavy textures, they quickly turn a clean edit into a noisy poster.
Step 5: Export correctly
Export in JPG for general social posts and PNG for transparent backgrounds or graphics. Choose a resolution that matches your platform so the file is not oversized. Many tools offer custom sizes, so setting exact width, for example 1080 pixels for Instagram, helps avoid compression artifacts.
Real world examples of trending style art photos
Example 1: Creator profile picture
Imagine you are a gaming creator who wants a stronger identity on YouTube and Discord. You take a clear headshot near a window so the light is soft. You run it through an AI cyberpunk style that adds neon edges and a glowing background. Then in a browser editor you crop to a close square, slightly lower saturation, and add your channel name in small text at the bottom.
The final image feels like a custom commission but you made it with free or low cost tools in under thirty minutes. It also stays readable at tiny sizes which is critical for avatars on phone screens.
Example 2: Small business promotion post
A cafe owner wants to promote a seasonal drink on Instagram. They shoot a clean product photo on a table with natural light. In an online editor they apply a pastel art filter that simplifies shapes and adds a soft outline. Then they overlay grain and a paper texture, and place simple text with price and a short tagline.
This keeps the brand consistent. The owner saves a template file in the editor so they can swap the drink photo next month and reuse the same style without starting again.
Mini case study: fixing an over processed art edit
One common mistake with trending style art photo making online is pushing every slider to the maximum. For example, a user uploads a selfie, chooses a strong oil effect, then increases saturation, contrast, and sharpening fully. On a small screen this might look exciting, but on a larger display skin turns plastic and edges show halos.
To fix this, bring the same photo back into a browser editor and reduce saturation and contrast slightly, often by ten to twenty points. Lower clarity or sharpening until skin regains natural texture. If possible, blend the original photo at low opacity on top of the effect, which restores some realism. This half and half blend creates a more premium look than pure filter.
Common mistakes and safety tips
- Uploading only low quality screen grabs. This gives AI very little detail to work with.
- Relying on auto background removal that cuts off hair or fingers. Zoom in and fix edges where tools allow it.
- Ignoring terms of use. Some services limit commercial usage of styled images in ads or products.
- Logging in with sensitive accounts everywhere. When possible, use email login rather than linking all social profiles.
- Clicking aggressive download buttons that are actually ads. Many free editors show misleading banners close to the real export button.
Conclusion
Trending style art photo making online is mostly about picking the right starting image, concentrating on one clear style, and doing light manual tweaks after the main filter. Free and browser based tools are now strong enough for social media use as long as you respect their limits and file sizes.
A practical approach is to select one AI avatar or art site you like and one browser editor you are comfortable with, then build a small workflow around them. Save presets or templates when the tool offers them so your next set of posts feels consistent. If you want to go deeper, you can also check other guides on AI tools, Android photo apps, and privacy settings on this blog.
FAQ
Is online art style editing safe for personal photos
It can be reasonably safe if you use known platforms, avoid uploading very sensitive images, and read how the service stores and uses data. For private photos prefer tools that say they delete files after processing.
Can I use these edited photos for commercial work
That depends on the site terms. Some AI tools allow commercial use, others restrict it or need a paid plan. Always check the license section before using styled images in ads, product packaging, or client projects.
Which device works best for online art photo making
Most tools run fine on modern Android and iOS phones and basic laptops with a current browser. For heavier browser editors, a laptop with more RAM will feel smoother, but for single image edits a phone is usually enough.
How large should my photo be for good results
As a simple rule aim for at least 1000 pixels on the smallest side. Many AI tools upscale automatically, but starting with a half decent resolution avoids soft edges and strange textures.
Why do my online edits look worse after uploading to social media
Platforms compress images. To reduce visible damage, export at the recommended size for that network, avoid heavy noise or banding, and keep text large enough to survive compression on smaller screens.
Thank you for reading. If you found this guide helpful, stay connected with this blog for more posts on the latest tech tips, useful apps, creative AI tools, and regular update breakdowns.